Prerequisites
Make sure you have Node.js and npm installed on your machine.
Step 1: Create a new React Native app
Initialize a new React Native project. There are two ways to do this:
Expo CLI - Easier for new React Native developers.React Native CLI - If you are already familiar with mobile development, enables you to build native code into your project.
For more information, you can refer to this guide.
Step 2: Install the React Navigation package
React Navigation is a standalone library that enables you to implement navigation functionality in a React Native application.
- Install the package in your project directory. Run
npm install @react-navigation/native. You can also use it with yarn. - Install its dependencies in your project directory. Run
npm install react-native-screens react-native-safe-area-context. You can also use it with yarn.
More information in this link.
Step 3: Install the native stack navigator library
Install the native stack navigator library in your project directory. Run npm install @react-navigation/native-stack. You can also use it with yarn.
More information in this link.
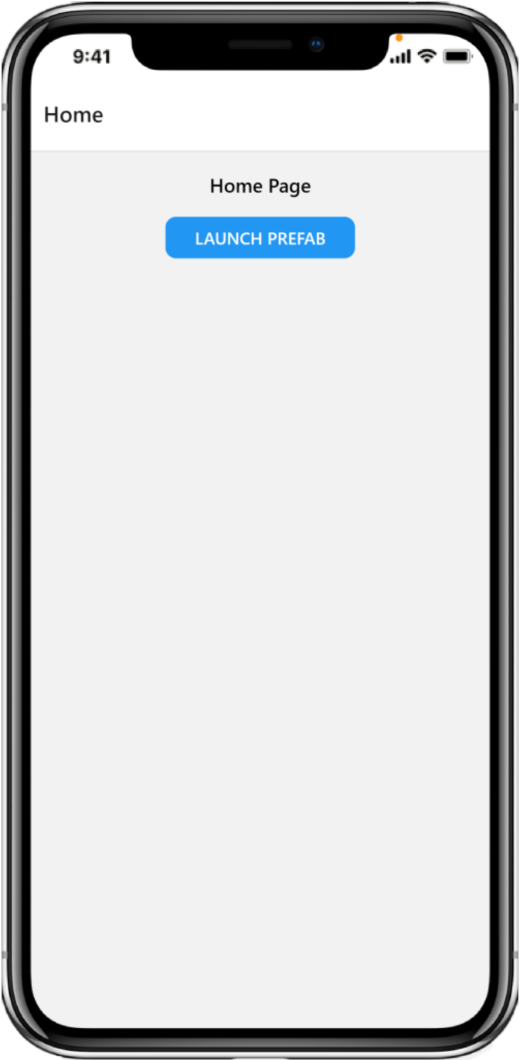
Step 4: Create a Home Page
Create a new folder called screens in the root of your project, in that folder create a new file HomeScreen.js with the following content:
import React from 'react';
import { View, Text } from 'react-native';
function HomeScreen () {
return (
<View>
<Text>Home Page</Text>
</View>
);
};
export default HomeScreen;
Step 5: Create a screen to show the Prefab component.
Go to the guide Setup your Prefab for information on how to use pre-fabric components inside a React Native component.
Then, create a new file PrefabScreen.js in the folder screens with the following content:
import { RetailAccountOpenningPrefab } from "@infinant/retail-ao-prefact-react-component";
function PrefabScreen() {
return <RetailAccountOpenningPrefab
environment="sandbox"
clientId="2blhr1c3qbrr1rht0f9h708am6"
clientSecretKey="1ml00o67kbig2vq1sall4o2gkqud0e3oobcbbudce7acl4ston32"
/>;
};
export default PrefabScreen;
Step 6: Setup React Navigation
Create a Stack Navigator in the root file of your application, such as index.js or App.js. This Stack Navigator will be used to create screens and navigate between them.
Change the content of the root file App.js to the following:
import React from 'react';
import { NavigationContainer } from '@react-navigation/native';
import { createNativeStackNavigator } from '@react-navigation/native-stack';
import HomeScreen from './screens/HomeScreen';
import PrefabScreen from './screens/PrefabScreen';
const Stack = createNativeStackNavigator()
export default function App() {
return (
<NavigationContainer>
<Stack.Navigator initialRouteName="Home">
<Stack.Screen name="Home" component={HomeScreen} />
<Stack.Screen name="Prefab" component={PrefabScreen} />
</Stack.Navigator>
</NavigationContainer>
);
}
In the code above:
- We have the
<NavigationContainer> component, which manages the navigation tree and contains the navigation state. This component must wrap all navigators structure. - We created a
Stack object using the createNativeStackNavigator function. This object contains 2 properties: Navigator and Screen. Both of them are React components used for configuring the navigator. - The
<Stack.Navigator> component is used to wrap the <Stack.Screen> components, and can provide an initial route with the initialRouteName prop. - The
<Stack.Screen> components are used to define the configuration for the routes. Each <Stack.Screen> component accepts a name prop that corresponds to the name of the route we will use to navigate, and a component prop that corresponds to the component it'll render. - Our Stack has two routes, a
Home route, that corresponds to the HomeScreen component, and a Prefab route, that corresponds to the PrefabScreen component. The initial route for the stack is the Home route.
For more information on configuring the stack navigator, you can refer to this link.
Step 8: Run your app on your device
Now you are ready to build and run your app on your device or simulator.